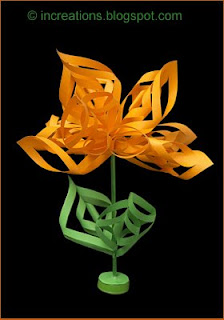
The making of this flower is based on this snowflake idea. Two green paper squares, 9 orange ones, a green stick (for the stem) and a bottle cap have been used. To make the flower stay upright, we've put some play dough into the cap to make it heavier.
March 24, 2008
March 14, 2008
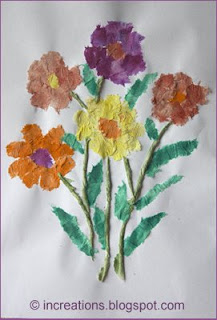
Chigiri-e flowers easy kids' craft
These flowers are made using chigiri-e technique, adapted for children.
March 10, 2008
Make a toy water well from a milk carton
March 9, 2008
Floral greeting card with spiral flowers
I tried to make a greeting card with three-dimensional flowers. The techniques is described in detail in "Paper Crafts Workshop: A Beginner's Guide to Techniques & Projects". In short:
- Draw a swirl on coloured paper.
- Cut the paper following the swirl design with decorative scissors (waves of different types). Start cutting from the outside to the centre.
- Roll the swirl from the outside towards the centre around a thin round stick or using a quilling tool.
- Remove the stick and let the rolled paper free. It opens a little into a flower.
- Pull the centre (a small circle) of the swirl and glue it underneath.
- Cut out leaves, place them on a soft pad and gently press in veins.
UPDATE: Don't miss the video tutorial on how to make such roses.
March 2, 2008
Doll made of clothespins
This puppet is made out of wooden clothespins (clothes pegs). It looks funny, its arms and legs can move so that playing with it is fun. Making it is fun, too, you will need just three clothespins, two thin nails, a champagne cork, and paint for decorating.
- Take the clothespins apart to get six identical halves.
- Use two halves to make the body: glue them together as shown in the picture.
- Use the rest clothespins for the arms and legs.
- Attach the arms by driving a nail through them and the body.
- Attach the legs in the same manner. Help the kids hammering the nails and bend the nail tips over to prevent pricking.
- Make a head from the cork and glue it to the body.
- Let the children color the finished doll.
Subscribe to:
Posts (Atom)